
Trading Justice is an irreverent podcast that teaches real people how to trade, invest, and manage your financial future. We discuss the best books, the latest market trends and foibles, topical politics and economics, wealth mindsets and strategies, and we interview professional traders, investors, authors, and entrepreneurs. We’re not your typical, boring financial podcast and we’re not your typical, boring finance guys.
We’re Trading Justice.
All
Podcasts
Trading Justice: The Cost of Caution
AI Wave 3: Race to AGI
Trading Justice: Tariff Groundhog Day
Trading Justice: Tariffs, Tech, & The New Gold Rush
Trading Justice Podcast – Tariff Shock: Trade Policy & Market Fallout
Trading Justice: Liberation Day
Trading Justice: Inflation 2.0 The Return of Transitory
Trading Justice: Bulls Beg for a Bottom, Resistance is the Real Test
Trading Justice: Battle at the 200
Trading Justice: Stock Madness
Trading Justice: Cranky Consumers & Market Movers
Trading Justice: Never Go Full Position
Trading Justice: Breakout Blockade: The Roadblocks to a Rally
Trading Justice: Rates, Robots, & Reality Checks
Trading Justice: Powell's Take, Earnings Shake & Stargate
Trading Justice: Fakeout to Breakout
Trading Justice: Bears vs Bulls
Trading Justice: Tale of Two Time Frames
Trading Justice: 2025 Market Predictions
Trading Justice: Sleigh Bells and Rate Spells
Trading Justice: Clarity in Complexity
Trading Justice: Momentum Trading
Trading Justice: Precision Trading
Trading Justice: Brace for the Breakout
Trading Justice: The Aftermath
Trading Justice: Trump Trade
Trading Justice: Election Edition

Trading Justice: Market Showdown
Trading Justice: Election Buzz & Market Moves

Trading Justice 600: AI Gold Rush
Trading Justice 599: Recession Timeout
Trading Justice 598: Cautiously Optimistic
Trading Justice 597: When Hawks Cry

Trading Justice 596: Fed on Deck

Trading Justice 595: Bump in the Road
Trading Justice 594: September Seasonality
Trading Justice 593: Powell Pivots

Trading Justice 592: Fed Hangout Jackson Hole
Trading Justice 591: Chaos & Opportunity II

Trading Justice 590: Choas and Opportunity
Trading Justice 589: Fed, Earnings, and Economic Catalysts
Trading Justice 588: Need a Doji

Trading Justice 587: Rotation Radar
Trading Justice 586: Bear Case Breakdown
Trading Justice 585: Mid-Year Review
Trading Justice 584: PAYing Attention: Navigating Overextension
Trading Justice 583: Navigating Uncertainty

Trading Justice 582: Dividing to Conquer: The NVDA Split

Trading Justice 581: Tech Turf War

Trading Justice 580: NVIDIA’s Surge & Halo effect
Trading Justice 579: Records are made to be broken
Trading Justice 578: Earnings Recap
Trading Justice 577: Pete Thomas
Trading Justice 576: Market Maelstrom
Trading Justice 575: Understanding Market Corrections

Trading Justice 574: Macro Moment

Trading Justice 573: Earnings Season Preview
Trading Justice 572: 1st Quarter Recap
Trading Justice 571: Guy Cohen
Trading Justice 570: Inflation Gaslighting
Trading Justice 569: Semi Volatility
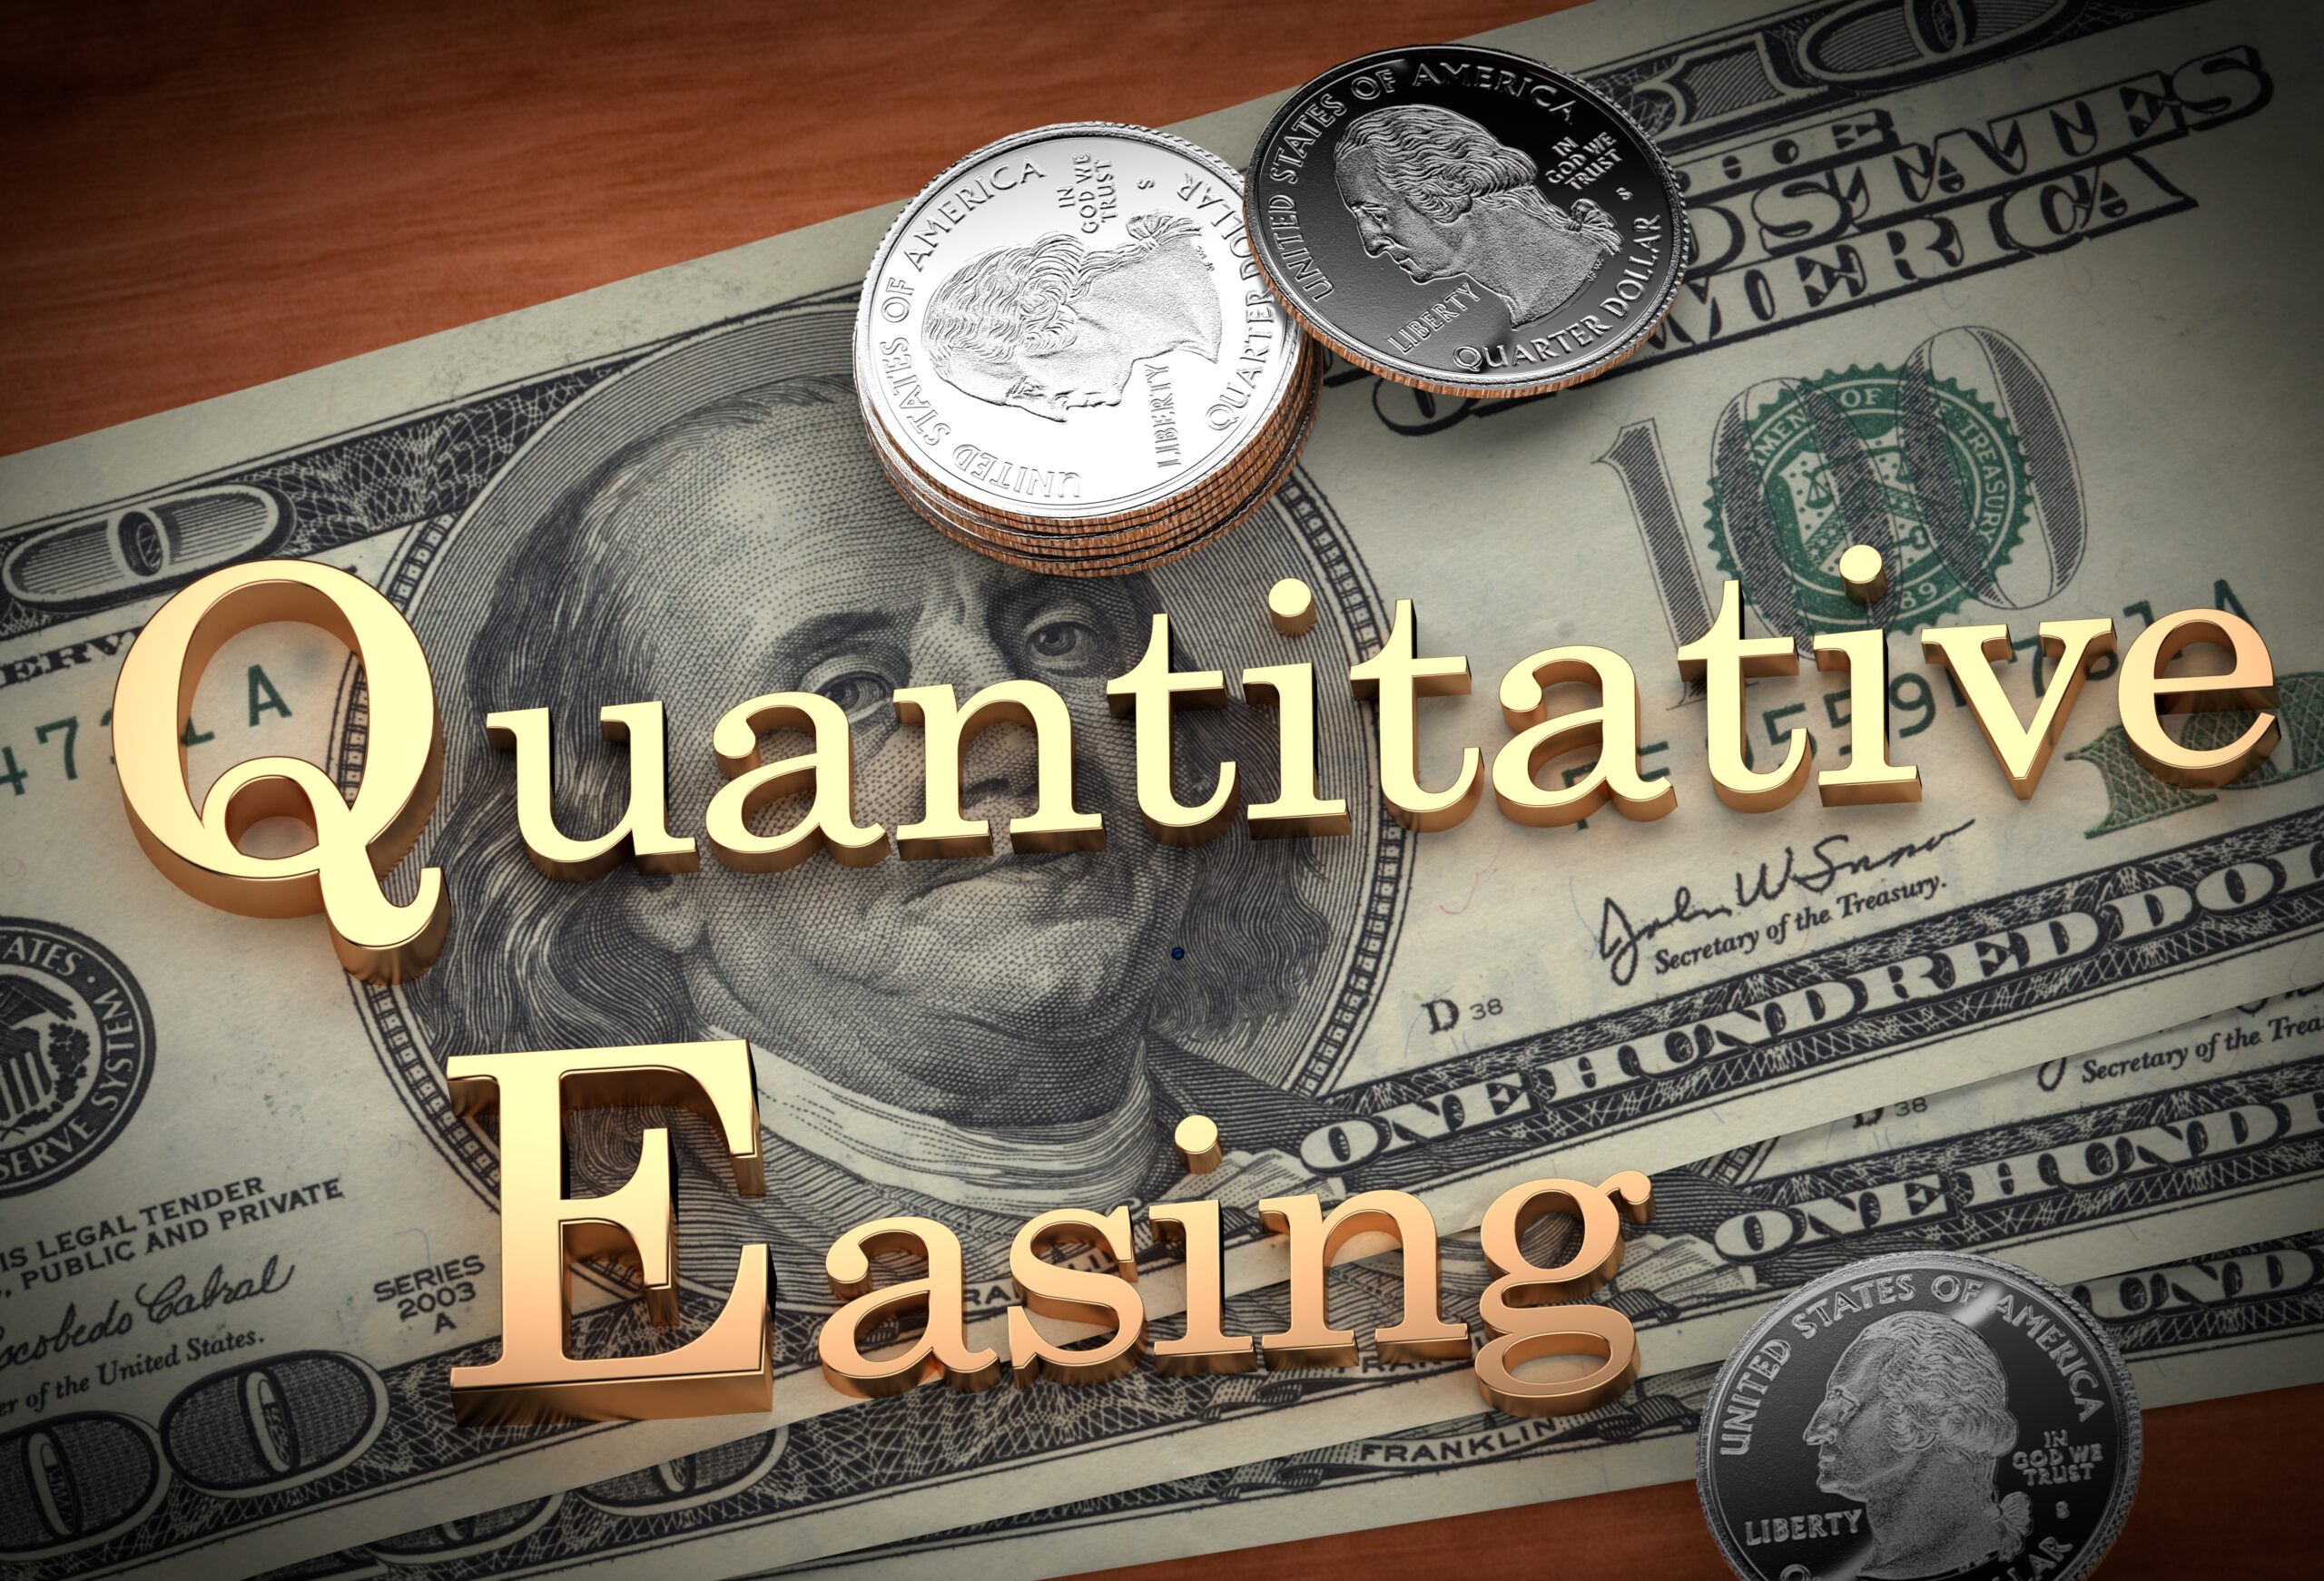
Trading Justice 568: Quantitative Easing
Trading Justice 567: Buffett Talks to Investors
Trading Justice 566: Sticky Inflation
Trading Justice 565: Navigation Market Valuations
Trading Justice 564: The Oil Anomaly
Trading Justice 563: Juggernaut Week
Trading Justice 562: Breakout or Fakeout
Trading Justice 561: Inflation week
Trading Justice 560: Earnings Landscape
Trading Justice 559: Tackle 25 Covered Calls

Trading Justice 558: 2024 Predictions
Trading Justice 557: Fed Pivots?
Trading Justice 556: Top 5 Reasons to Own Gold

Trading Justice 555: Sector Rotation
Trading Justice 554: Navigating Overextended Markets
Trading Justice 553: Just What the Doctor Ordered
Trading Justice 552: It's a Technical Week

Trading Justice 551: Investor Sentiment Sours

Trading Justice 550: Wall Streets Biggest Bear Flips
Trading Justice 549: Case for a 4th qrt Rally

Trading Justice 548: Earnings Forecast
Trading Justice 547: Where Does the Market Bottom

Trading Justice 546: Is the FED done hiking?

Trading Justice 545: Are we heading towards stagflation?
Trading Justice 544: Lets Talk Energy

Trading Justice 543: September Effect

Trading Justice 542: BRICS & Jackson Hole

Trading Justice 541: Its a Macro Moment

Trading Justice 540: Battle of the 9s

Trading Justice 539: AAPL v AMZN
Copy of Trading Justice 538: Lets Talk GDP
Trading Justice 537: Smells like Rotation
Trading Justice 536: BRICS Add Gold
Trading Justice 535: Earnings Season Preview
Trading Justice 534: Why Bulls Won the First Half
Trading Justice 533: Decision Week
Trading Justice 532: Fed Pauses
Trading Justice 531: What is Day Trading
Trading Justice 530: Are Cyclical areas rotating?

Trading Justice 529: Semiconductors on Fire
Trading Justice 528: Generals are Leading
Trading Justice 527: Debt Ceiling
Trading Justice 526: Searching for a Theme

Trading Justice 525: Its a Big Cap Market
Trading Justice 524: Patience is a Position

Trading Justice 523: History of Currency Part 3
Trading Justice 522: History of Currency Part 2
Trading Justice 521: History of Currency part 1
Trading Justice 520: The Letter R

What You Can Learn From the PutWrite Index | Trading Justice Newsletter Vol. 62
Trading Justice 519: What will the FED do next?

Trading Justice 518: SVB Fallout & What's Next
Trading Justice 517: Peter Grant on Metals

Trading Justice 516: Are Commodities Front Running
Trading Justice 515: Higher for Longer
Trading Justice 514: Can the market Run?

Trading Justice 513: 0DTE
Trading Justice 512: Week of Weeks

Investing & Taxes | Trading Justice Newsletter Vol. 61
Trading Justice 511: Bull v Bear
Trading Justice 510: Earnings Season

Trading Justice 509: Tackle 25 2023

Trading Justice 508: 2023 Stock Market Predictions

Trading Justice 507: 2022 Stock Market Predictions Review

Trading Justice 506: Choosing Quality Stocks for 2023
Trading Justice 505: Powell's Bull Trap
Trading Justice 504: Why Stocks Beat Inflation

Trading Justice 503: Theta-Giving
Trading Justice 502: Santa Claus Seasonality

Trading Justice 501: Dot-Com Bubble Part 2

Trading Justice 500: Dot-Com Bubble Part 1

Three Silver Linings to High Interest Rates | Trading Justice Newsletter Vol. 60
Trading Justice 499: Sub Prime Lessons
Trading Justice 498: Up Down and All Around
Trading Justice 497: What to Expect in Earnings Season
Trading Justice 496: Two days make a Bottom?

How to Start Investing in Three Simple Steps: A Practical Guide | Trading Justice Newsletter Vol. 59

Trading Justice 495: What Bottoms First
Trading Justice 494: FED Week
Trading Justice 493: CPI

Trading Justice 492: Ark Dogs
Trading Justice 491: Interview with Bran Katanec

How to take control of your investments without paying Wall Street a single dime | Trading Justice Newsletter Vol. 58

Trading Justice 490: Interview with Larry Sprung

Trading Justice 489: Interview with Michael Lynch
Trading Justice 488: Earnings Performance

Trading Justice 487: The Wall of Worry Update

Trading Justice 486: Week of Weeks
Trading Justice 485: Is this the bottom?
Trading Justice 484: 10 things you need to know about earnings season

Journaling & Equity Curves | Trading Justice Newsletter Vol. 57
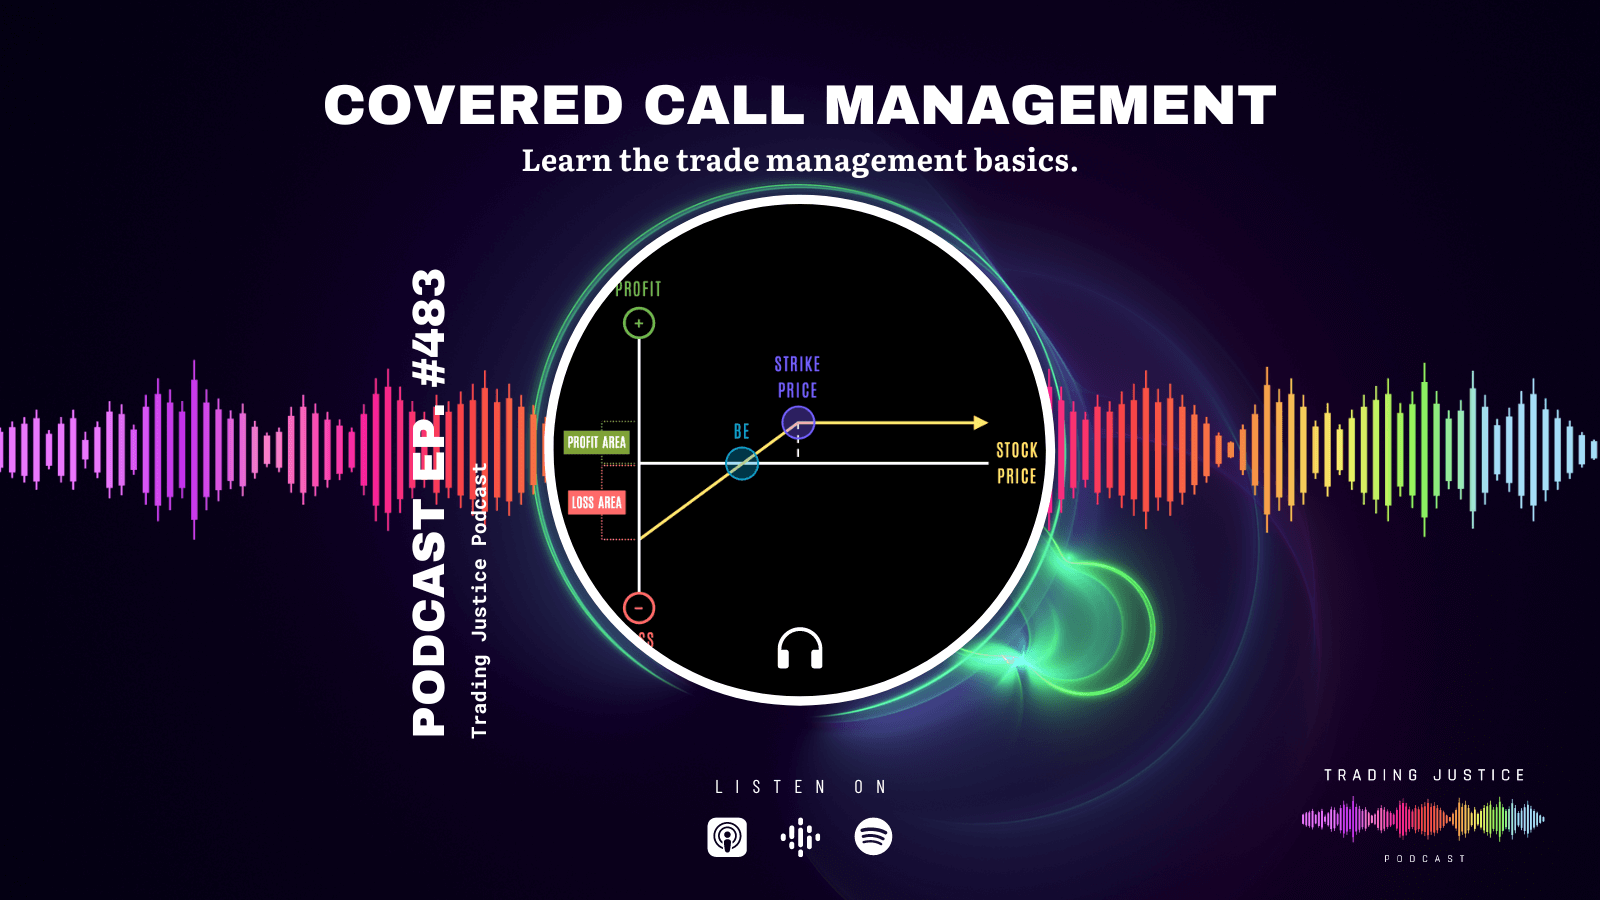
Trading Justice 483: Covered Call Management
Trading Justice 482: Stock Draft
Trading Justice 481: Hard 14 Trading System Release
Trading Justice 480: Moving Averages

A Practical Guide to Multiple Time Frame Analysis | Trading Justice Newsletter Vol. 56
Trading Justice 479: Interview with Marie Stankus
Trading Justice 478: Interview with Derrick Oldensmith

Trading Justice 477: Interview with Travis Corcoran

Trading Justice 476: Interview with Pete Thomas
Charles Dow & the Origin of Indexes | Trading Justice Newsletter Vol. 55

Trading Justice 475: Interview with Pearl Li

Trading Justice 474: Interview with David Keller
Trading Justice 473: Interview with Kenny Polcari
Trading Justice 472: 7-Step Guide to Trading
Trading Justice 471: Implied Volatility
Why Implied Volatility Matters | Trading Justice Newsletter Vol. 54
Trading Justice 470: Moving Averages
Trading Justice 469 - Stop Loss: Placement & Philosophy For Different Types of Traders
Trading Justice 468: Finding Value in the Stock Market
Trading Justice 467: Anatomy of a Bearish Breakdown

Trading Justice 466: The Wall of Worry
How to Survive Bear Markets | Trading Justice Newsletter Vol. 53

Trading Justice 465: The Volatility Playbook
Trading Justice 464: The Options Greeks
Trading Justice 463: Swing Trading with Options

Trading Justice 462: The Long Call

What are Bear Markets? | Trading Justice Newsletter Vol. 52

Trading Justice 461: The Basics of Support

Trading Justice 460: Pete Thomas on the current Precious Metals market
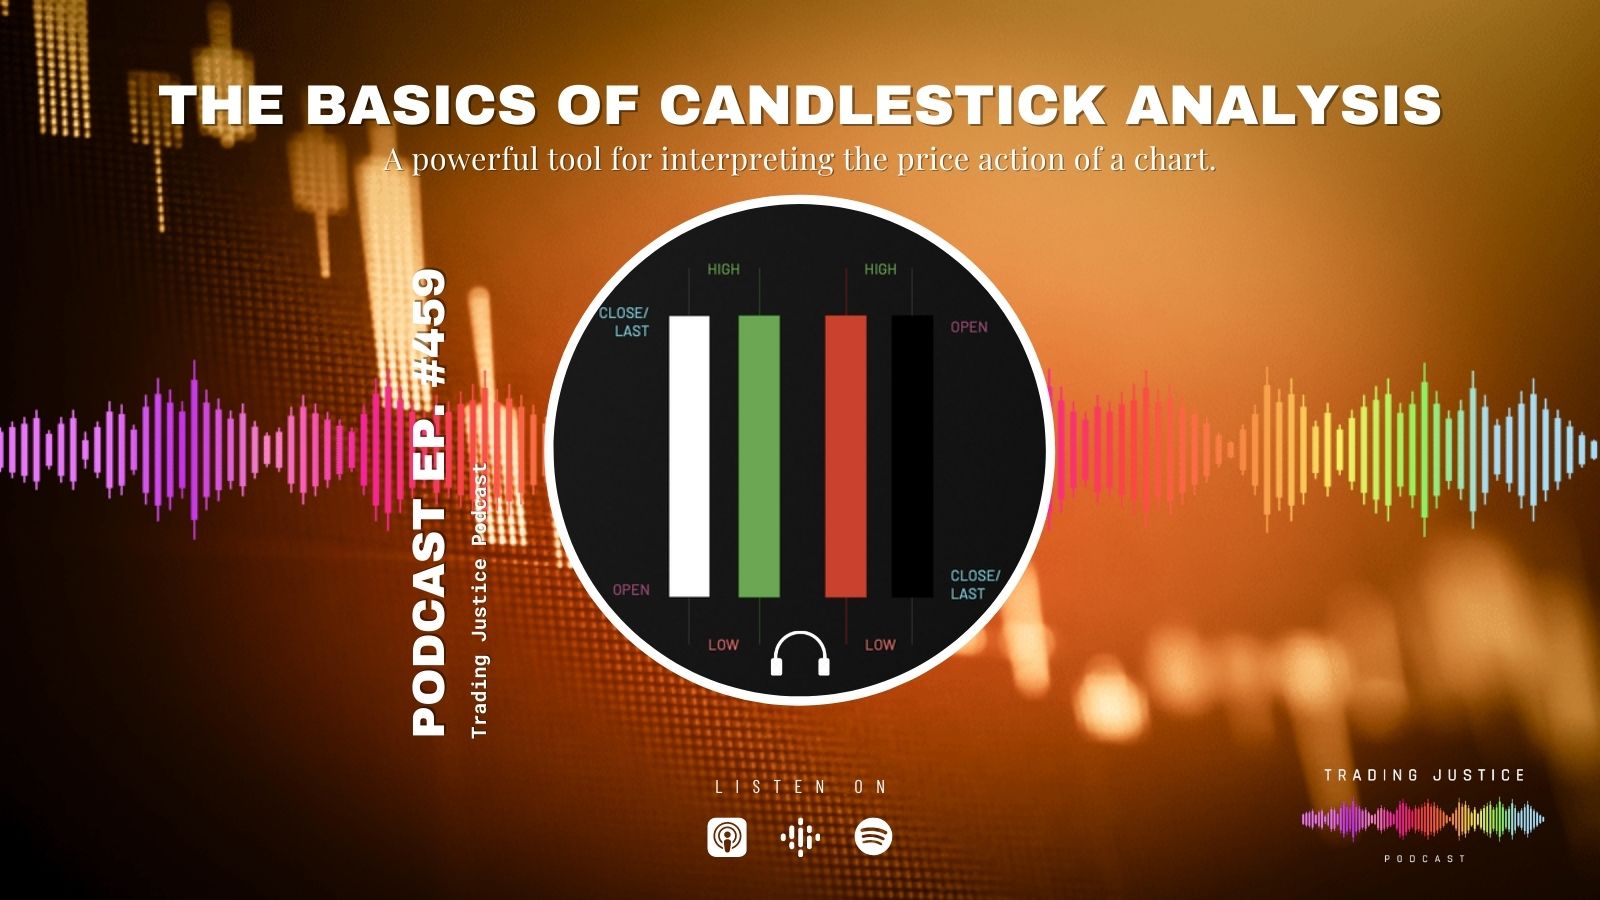
Trading Justice 459: The Basics of Candlestick Analysis

The Boomerang Trading System | Trading Justice Newsletter Vol. 51
Trading Justice 458: Tackle 25 Covered Calls List (2022 Edition)

Trading Justice 457: 2022 Stock Market Predictions

Trading Justice 456: Portfolio Design for Beginners

Trading Justice 455: Daily Trading Routines

Daily Trading Routine | Trading Justice Newsletter Vol. 50

Trading Justice 454: Tyler Craig on Stock Market Volatility
Trading Justice 453: The Covered Call Strategy
Trading Justice 452: The Art of Swing Trading
Trading Justice 451: The Power of Compounding

What Warren Buffett can Teach about Compounding | Trading Justice Newsletter Vol. 49
Trading Justice 450: Understanding Market Funds with Coach Greg Holmes
Trading Justice 449: Bitcoin Proxies

A Beginner’s Guide to Bitcoin Proxies | Trading Justice Newsletter Vol. 48
Trading Justice 448: The Long Call
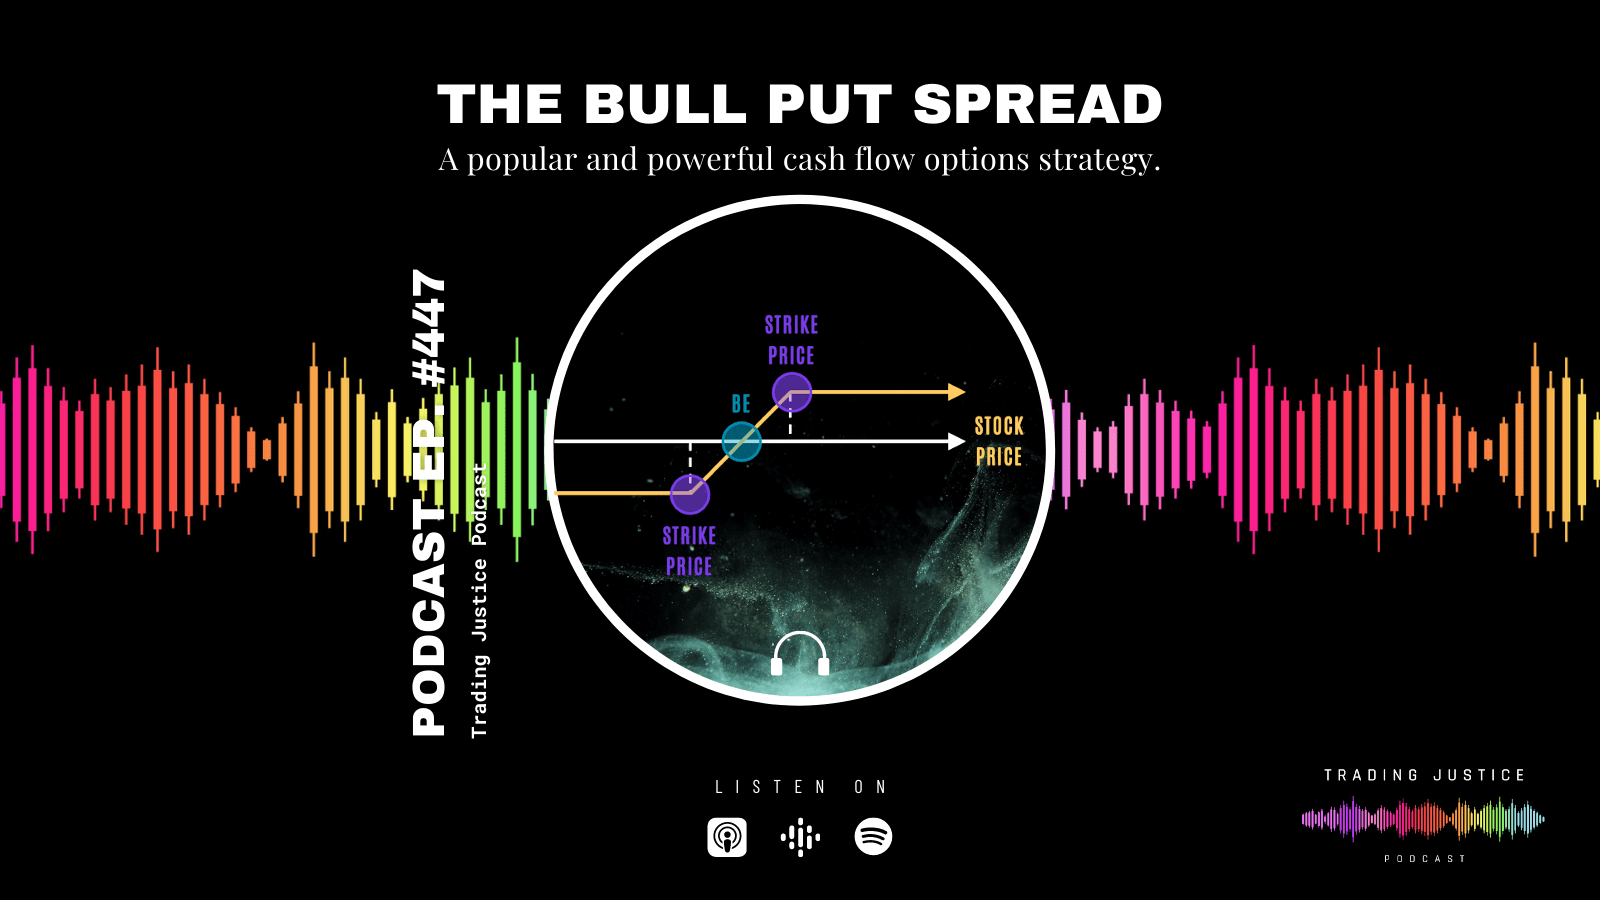
Trading Justice 447: The Bull Put Spread

Trading Justice 446: Understanding Bullish Reversals

Trading Justice 445: Start with Why
Trading Justice 444: Earnings
Trading Justice 443: Swing Trading 101
Episode 442: The Anatomy of a Bullish Retracement
Trading Justice 441– The Lumber Saga

Learning from the Lumber Bubble | Trading Justice Newsletter Vol. 47
Trading Justice 440 – Bearish Points Disputed
Trading Justice 439: Keith King
Trading Justice 438: Jabon Wilson

A Fresh Look at the Cash Flow Condors System | Trading Justice Newsletter Vol. 46
Trading Justice 437: What is Tapering?
Trading Justice 436: Pete Thomas
Trading Justice 435: Greg Holmes
Trading Justice 434: Ten Guiding Investment Principles

Peek Inside Team Phoenix | Trading Justice Newsletter Vol. 45
Trading Justice 433: Market Skyline
Trading Justice 432: Sector Classifications
Trading Justice 431: 2021 Mid-Year Predictions Review
Trading Justice 430: How to Fight Inflation
Trading Justice 429: Trading Labs

How to Fight Inflation | Trading Justice Newsletter Vol. 44
Trading Justice 428: The Anatomy of a Breakout
Trading Justice 427: 7 Tips for Cash Flow Traders
Trading Justice 426: Implied Volatility Build and the Straddle
Trading Justice 425: Many Facets of a Covered Call

The Many Facets of a Covered Call | Trading Justice Newsletter Vol. 43
Trading Justice 424: Inflation Questions
Trading Justice 423: Sell in May and Go Away?
Trading Justice 422: The Implied Volatility Cycle
Trading Justice 421: Earnings Expectations
Trading Justice 420: Interest Rates
Trading Justice 419: Infrastructure

A Beginner's Guide to Interest Rates|Trading Justice Newsletter Vol. 42
Trading Justice 418: FinTech
Trading Justice 417: The True Fundamentals of Investing

The True Fundamentals of Investing | Trading Justice Newsletter Vol. 41
Trading Justice 416: The Long Call Strategy
Trading Justice 415: The Tools of the Federal Reserve
Trading Justice 414: Inflation
Trading Justice 413: Energy Sector Spotlight
Trading Justice 412: SPAC Mania
Trading Justice 411: Pete Thomas and Precious Metals

The Rigors of Risk Management | Trading Justice Newsletter Vol. 40
Trading Justice 410: Gamestop Mania
Trading Justice 409: Understanding Earnings
Trading Justice 408: Are we in a bubble?
Trading Justice 407: Options Strategy Selection

The Definitive Guide to Options Strategy Selection | Trading Justice Newsletter Vol. 39
Trading Justice 406: Tackle 25 Covered Calls List (2021 Edition)
Trading Justice 405: 2021 Predictions
Trading Justice 404: 2020 Predictions Awards Show
Trading Justice 403: Tyler Craig

How to Build an Investment Portfolio | Trading Justice Newsletter Vol. 38
Trading Justice 402: Pete Thomas and Precious Metals
Trading Justice 401: Drafting the Dow 30
Trading Justice 400: Gratitude
Trading Justice 399: The Magic of Beta Weighted Delta

The Magic of Beta Weighted Delta | Trading Justice Newsletter Vol. 37
Trading Justice 398: Post Election Market Themes
Trading Justice 397: Election Predictions
Trading Justice 396: Election Scenarios and Market Implications
Trading Justice 395: Seasonality and The Christmas Rally

Brokerage Account Types| Trading Justice Newsletter Vol. 36
Trading Justice 394: Stock v. Options Battle Royale
Trading Justice 393: Dean Beckette
Trading Justice 392: The Future of Retirement
Trading Justice 391: The History of Retirement
Trading Justice 390: The Value of Watch Lists
Trading Justice 389: Price Gaps

Of Price Gaps and Potholes| Trading Justice Newsletter Vol. 35
Trading Justice 388: Bitcoin 2020
Trading Justice 387: Bear Porn

Bear Porn | Trading Justice Newsletter Vol. 34
Trading Justice 386: The Future of Reserve Currency
Trading Justice 385: The History of the US Dollar pt. 2
Trading Justice 384: The History of Currency
Trading Justice 383: The 7 Steps to Trading
Trading Justice 382: The Art of the Reversal
Trading Justice 381: Pete Thomas

Gods of the Options Realm| Trading Justice Newsletter Vol. 33
Trading Justice 380: 2020 Predictions Review
Trading Justice 379: The STEP System 2020 update
Trading Justice 378: Current Market Dynamics
Trading Justice 377: Noah Davidson
Trading Justice 376: Keith King

The Art of Charting|Trading Justice Newsletter Vol. 32
Trading Justice 375: Jabon Wilson
Trading Justice 374: Brandon Diaz
Trading Justice 373: Insurance and Risk Aversion
Trading Justice Interviews: Guy Cohen
Trading Justice 372: Stock Picking Bracketology

Oil and the USO Riddle | Trading Justice Newsletter Vol. 31
Trading Justice 371: Guy Cohen
Trading Justice 370: Deconstructing the Bullish Stock Thesis'
Trading Justice Interviews: Pearl Li
Trading Justice 369: The Oil Contango and Negative Prices
Episode 368: Larry Velasco
Trading Justice Interviews: Keith King
Episode 367: Pearl Li

Tackle Newsletter: The Arguments and Guess Work
Episode 366: Investing Thesis' and Bearish Risks
Episode 365: Keith King

Trading Justice Interviews Jake Larmour
Episode 364: Jake Larmour

Episode 363: Coronavirus Update
Trading Justice Interviews Pete Thomas on Precious Metals, Coronavirus outbreak, and Fed policy

Options Heuristics: 10 flashcards with options basics | Trading Justice Newsletter Vol. 29
Episode 362: Pete Thomas on Precious Metals, Coronavirus outbreak, and Fed policy

Episode 361: Jake Pelley on how to approach trading in 2020

Episode 360: Portfolio Design
Episode 359: Is the Business Cycle Dead?

Time: Ten investment tips for the next ten years | Trading Justice Newsletter Vol. 28

Episode 358: The Coronavirus
Episode 357: Option Trades on Earnings
Trading Justice Interviews: Teri Ijeoma on her journey, trading routine, and trading mindset

Episode 356: Teri Ijeoma on her journey, trading routine, and trading mindset

Episode 355: Tackle 25 Covered Calls (2020 Edition)
I ♥️ Central Banks | Trading Justice Newsletter Vol. 27

Episode 354: 2020 Predictions
Episode 353: 2019 Predictions Year End Review

Episode 352: The Boomerang Trade Revisited
Trading Justice Interviews: Lane Mendelsohn on Trading Software & Artificial Intelligence
Episode 351: Lane Mendelsohn on Trading Software & Artificial Intelligence
Episode 350: Managing Call Options
Episode 349: Types of Traders

The Omelet & The Eggs | Trading Justice Newsletter Vol. 26
Episode 348: Silvia Cooke
Episode 347: The Traders Expo 2019

Episode 346: Anatomy of the Bullish Breakout

Episode 345: Seasonality and Sector Rotation
Lessons on Investing, Collection II | Trading Justice Newsletter Vol. 25
Episode 344: Tackle Trading Playbook
Trading Justice Interviews: Steve Burns on how to survive and thrive as a trader

Episode 343: Steve Burns
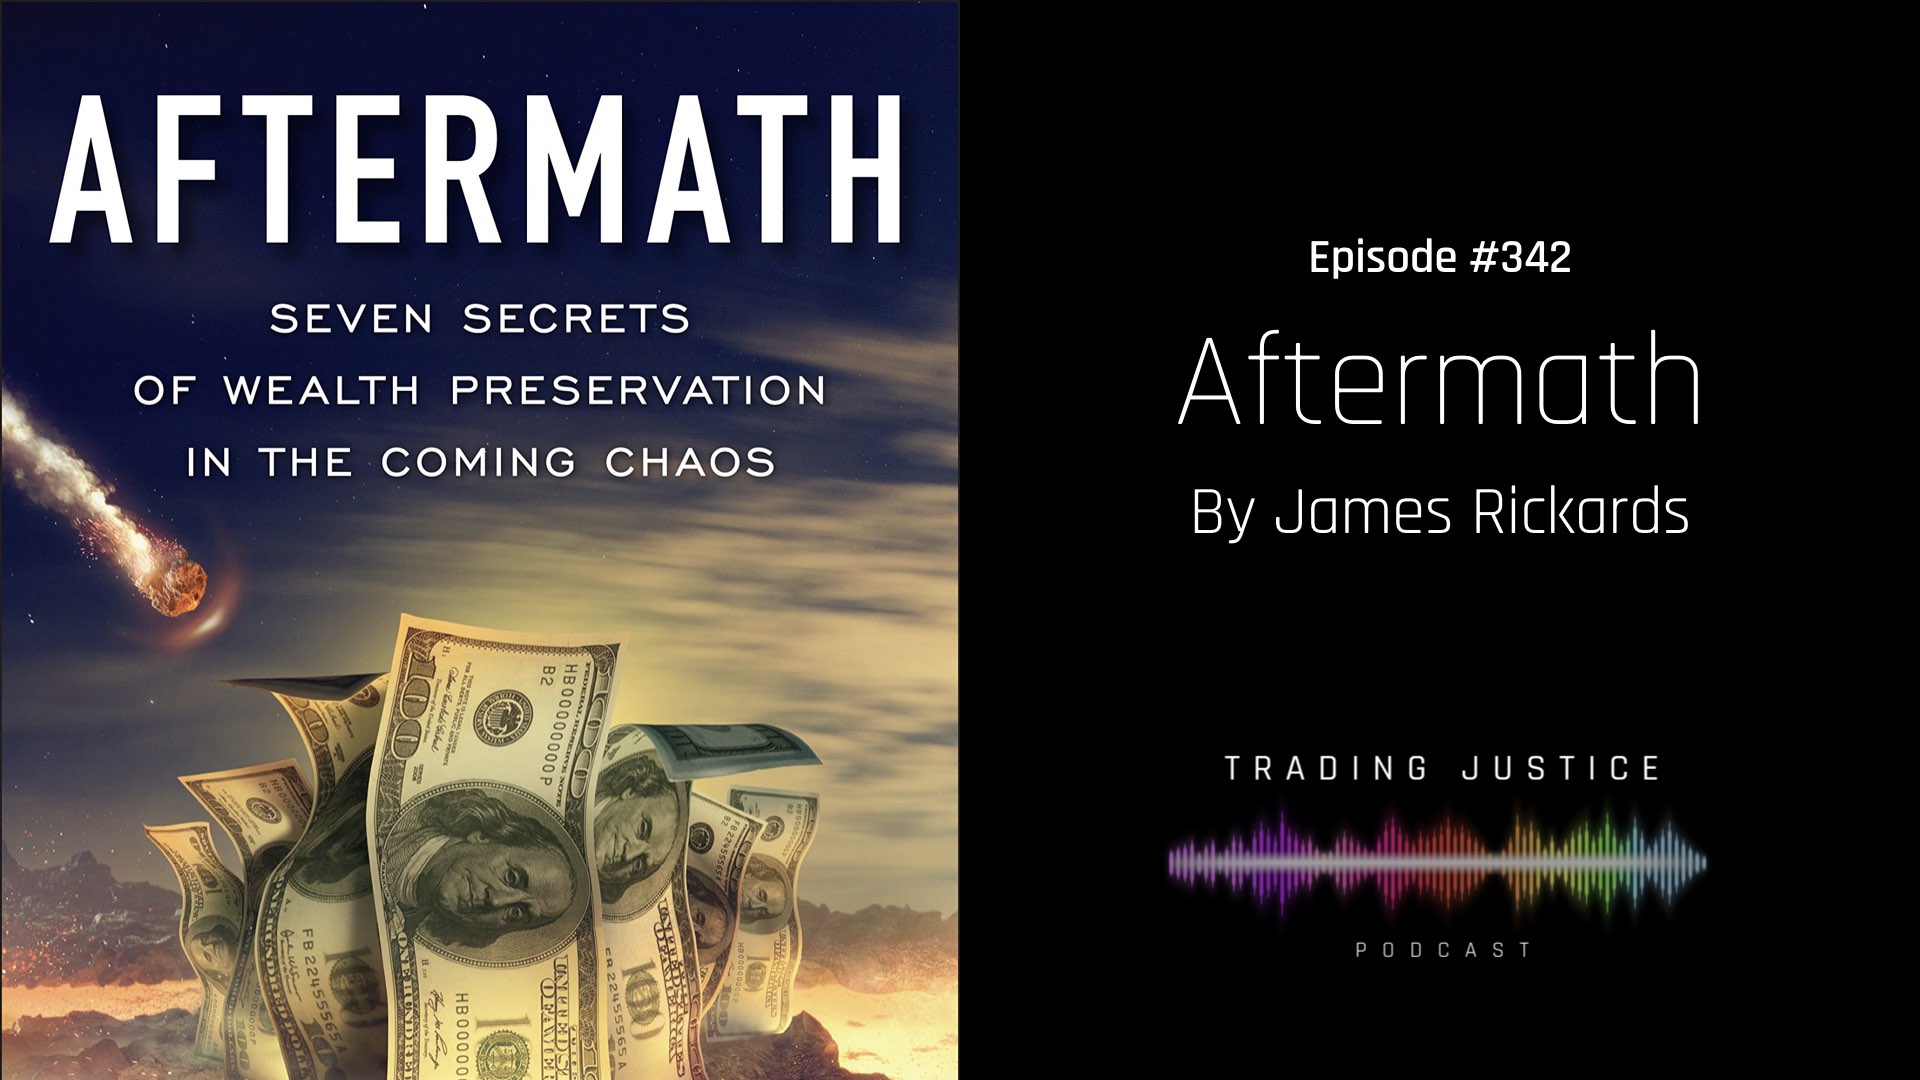
Episode 342: Aftermath
Episode 341: The Poor Man’s Covered Call
Lessons on Investing, Collection I | Trading Justice Newsletter Vol. 24
Episode 340: Trading Sins with Father Guido Stockaducci
Episode 339: Black Swan
Trading Justice Interviews: Chris Blasi on Gold, Silver and the upcoming boom in precious metals

Episode 338: Chris Blasi on Gold, Silver and the upcoming boom in precious metals
Episode 337: Coaches Mailbag
Episode 336: Rob Embers on Cybersecurity Risk
Trading Justice Interviews: Greg Holmes on trading, investing and market conditions

Welcome to Extremistan II: 15 rules on how to survive and be successful in the stock market | Trading Justice Newsletter Vol. 23
Episode 335: Greg Holmes, Jackson Hole, and a little Fantasy Football

Episode 334: Cash Flowing with Naked Puts

Trading Justice Interviews: Tyler Craig on handling bearish conditions
Episode 333: Tyler Craig on handling bearish conditions

Trading Justice Interviews - Hiro Ababon: The Life Story of a Trading Veteran
Trading Justice Interviews: David Keller on Behavioral Finance

Episode 332: How to create your daily trading routine in 4 steps
Trading Justice Interviews: Jack Schwager

Welcome to Extremistan | Trading Justice Newsletter Vol. 22

Trading Justice Episode 330: Gino Poore
Trading Justice Episode 329: Jack Schwager
Trading Justice Episode 328: Pete Thomas on Metals and Cryptocurrency
Trading Justice Episode 327: The Boomerang Trade

How chicken nuggets are made | Trading Justice Newsletter Vol. 21
Trading Justice Episode 326: The Iron Condor Strategy
Trading Justice Episode 325: Square Off
Traders Take 5: Marques Johnson
Trading Justice Episode 324: David Keller on Behavioral Finance

Traders Take 5: Lewis Crompton
Trading Justice Episode 323: S.T.E.P. - The Scouting Reports System

Traders Take 5: Ime Ntekpere
Trading Justice Episode 322: Shooting the Bull - Trading Places

Traders Take 5: Slawek Jurasek

Trading Justice 321: Noah Davidson on Trading the Bear

Trading Justice Newsletter, May 2019: Sell in May and Go Away?

Trading Justice 320: Gino Poore on Rookie Mistakes

Traders Take 5: Owen Malcom
Trading Justice 319: Anatomy of the Bullish Retracement
Traders Take 5: Noah Davidson
Trading Justice 318: The Stock Market is Dead, Long Live the Stock Market
Traders Take 5: Jasmine Jo

Trading Justice 317: Professional Day Trader Slawomir Juraszek
Traders Take 5: Karl Hoffman

The Holy Trinity of Trading Part III: Risk-Reward Ratio
Trading Justice Episode 316: Brandon Diaz
Traders Take 5: Tyler Craig

Trading Justice Episode 315: Beau Henderson on Financial Planning
Trading Justice Episode 314: Emily Muiruri on Women in Trading
Trading Justice Episode 313: The Holy Trinity of Trading - Position Sizing

Trading Justice Episode 312: Darryl Lyons on Behavioral Finance

The Holy Trinity of Trading Part II: Position Sizing

Trading Justice Episode 311: Buffett's Rules

Trading Justice Episode 310: Peter Hug on Commodities

Investing theory: How much Beta Weighted Delta is too bullish?

Episode 309: Shooting the Bull - The Wolf of Wall Street

Episode 308: Little Capital to Trade

The Holy Trinity of Trading Part I: Portfolio Design

Identify Priorities and Stay Focused

Episode 307: Recession Triggers

Episode 306: An Interview with Maria Diamond

Episode 305: An Interview with Grant Larsen

Don’t Be a Quitter After Quitter’s Day
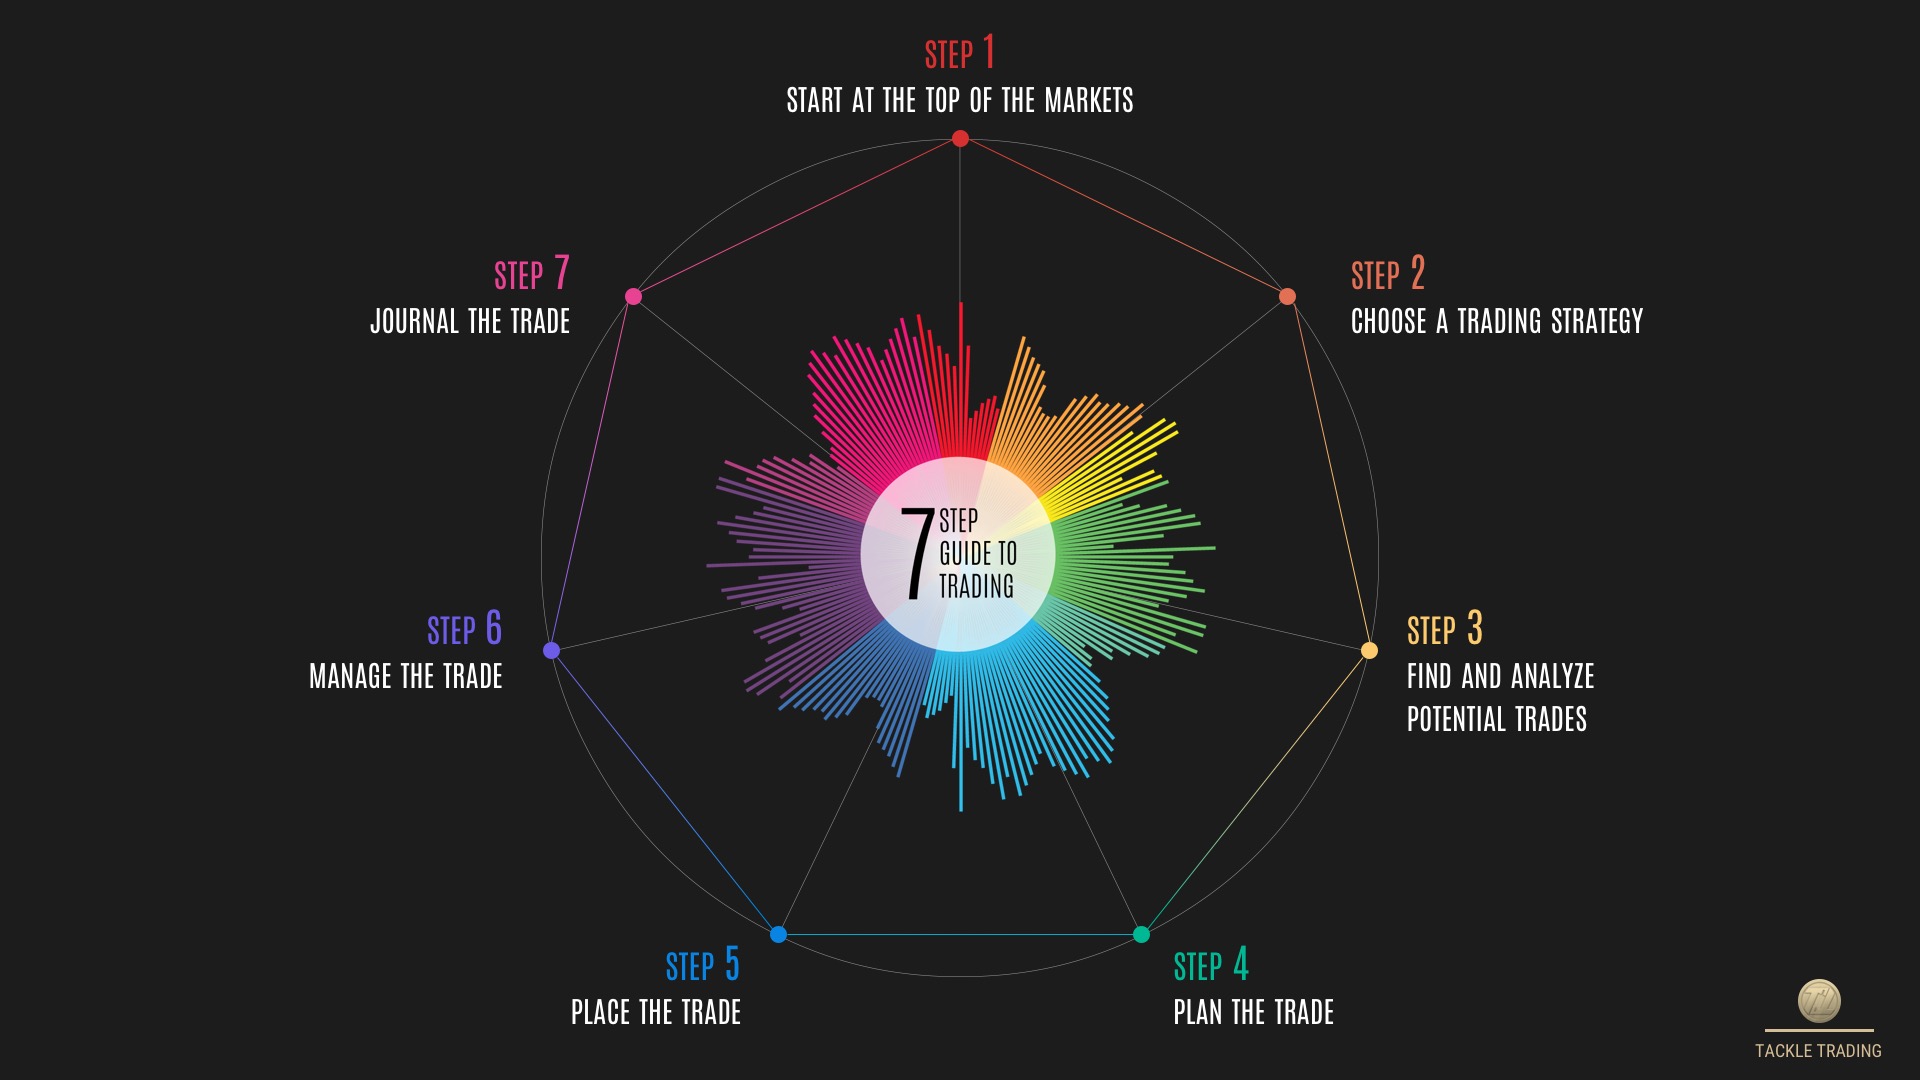
Episode 304: 7 Steps to Trading

Episode 303: The 2019 Tackle 25

Episode 302: 2019 Prediction Podcast

Episode 301: Merry Christmas Eve with The Plunge Protection Team
Trading Justice 300: Hawkish Fed

Episode 299: Shooting the Bull: Boiler Room

It’s All The Fugazi Part III: The Red Pill

Episode 298: Growth vs Value Investing

Episode 297: Making Money as Stocks Fall

Episode 296: Best of the Book Club Podcast

Episode 295: Forex Fundamentals

Episode 294: Storing Wealth An Interview with Kirk Chisholm

It's All The Fugazi Part II - The man

Episode 293: Entering the Hall of Fame with Beth Salamanca

Episode 292: Managing Margin with Gino Poore

Episode 291: Hedging Market Volatility with Coach Noah Davidson

Episode 290: Commodity Conversation With Pete Thomas

Episode 289: It’s All The Fugazi, Hyperinflation with Christian Sisson

It’s All The Fugazi Part I: Hyperinflation

Episode 288: Cash Flowing with Iron Condors

Episode 287: Personal Infrastructure An Interview with Rob Shannon

Episode 286: Managing Your Portfolio An Interview with David Moadel

System Design Part III: The Four-Legged Chair & The Four Horsemen Of The Trading Apocalypse

Episode 285: Produce Your Future an Interview with Brandon Weaver
Episode 284: Options Made Easy with Guy Cohen

Episode 283: Bear Market Survival Guide

Episode 282: It Must be the Shoes An Interview With Jabon Wilson

Episode 281: Monetary Policy

System Design Part II: The MCO Framework
Episode 280: Inverted Fly's

Inverted Butterfly Options Strategy

Cash Flow Strategy Outlines

Episode 279: Short Strangle Trading

Options trading theory question: Do you tend to buy or sell options, and why?

Episode 278: Futures Trading with Grant Larsen

5 Study Tips for New Traders

Episode 277: Enhancing System With Dividends

System Design Part I: Demystifying Systems

Episode 276: The Wanderer's Curse an Interview with Jacob Pelley

Finding Investments

Episode 275: The Four Horsemen of the Trading Apocalypse
Episode 274: Tackle 25 Mid-Term Report Card

Episode 273: Technical Analysis

Selling Naked Puts, It’s Naughty yet Nice

Episode 272: Oldie But Goodie

Episode 271: Trading Routine

Episode 270: Smartphone Warriors

Episode 269: Frankly, Its About Cash Flow

Episode 268: Trading & Poker

Compounding: The Eighth Wonder of the World
Episode 267: Paying It Forward

Episode 266: The Flight to Safety

Episode 265: Re- Inventing Life an Interview with Damion Lupo

What type of Trader are you?

Episode 264: Poor Man's Covered Call

Episode 263: The Fire Walk an Interview with David Fabricious

Episode 262: The Technical Battle of the Trenches

Episode 261: Vertical Credit Spreads, the Fed and Facebook

Episode 260: The Circle of Life An Interview with Beth Salamanca

You will break a few bones...

Want to grow better grass? Get a mentor.

How to Protect Your Retirement
Episode 259: Keith King on International Trade

Episode 258: The Real Deal is TTP

Episode 257: Back Ratio Spreads

Episode 256: More Shade Than a Cabana

Episode 255: Book Club Podcast Flash Boys

Episode 254: Developing Trading Systems with Christian Sisson

Market Cycles

Coaches Mailbag: Who can teach me Trading?

A Trader's Daily Routine

How to store your Bitcoins

Crypto Investing

Episode 253: Lessons of a New Trader

Episode 252: Candlestick Analysis

Coaches Mailbag: Understanding a Buy or Sell of a Call Option

Episode 251: The Rule of 72

Episode 250: Tackle 25

Sectors in the Market

Types of Brokerage Accounts

Market Indexes and Funds

Portfolio Design

How to Build a Watchlist

Episode 249: 2018 Prediction Podcast

Episode 248: 2017 Predictions Review

Episode 247: The Best of 2017

Episode 246: Fundamentals of Crypto-Currencies
Episode 245: Tax Euphoria

Account Types and Why Mutual Funds are Destructive to Your Wealth

10 Day Trading Tips and Tricks

Episode 244: Cash Flow Condors

Episode 243: Keith King & Day Trading

Coaches Mailbag: 8 things you can do this week to develop your Trading Skills

Episode 242: Cyber-Security

Episode 241: Environmental Hedging

How to Create a Scan on Finviz

The Coaches Mailbag: Understanding the Think or Swim Position Statement

Learn about the Instruments that Traders Use

Quick Bitcoin Checklist

Episode 240: Peter Thomas on Commodities

Episode 239: How Market Complexity Could Trigger the Next Crash

Episode 238: International Markets

The Art of the Market Reversal

The Four Core Trading Principles

Episode 237: Defeat Poor Money Management

Episode 236: Price Action Baby

Episode 235: Trading Earnings and Volatility

Episode 234: The Tackle 25

Episode 233: War is Bullish

Episode 232: Technical Analysis is Truth

Episode 231:Reminiscences of a Stock Operator

Episode 230: The Myths of Investing

Episode 229: The Emotion of the Market

Episode 228: Key Elements to Build Your Trading Business

Commodities & Forward-Thinking

Episode 226: Economic Theory

Episode 225: The Trader's Honor Code

Episode 224: Women In Trading

Episode 223: System Development

Episode 222: Iron Condor

Episode 221: The Way of the Turtle

Episode 220: Theta

Episode 219: Precious Metals

Episode 218: Value Investing

Episode 217: Naked Puts

Episode 216: Environmental Hedging

Episode 215: Undiscovered Riches

Episode 214 - Bank Trade Open

Episode 213 - Trading Discipline
Episode 212: Trading for Beginners

Episode 211: Sector Rotation

Episode 210: Credit Spread

Episode 209: Daily Trading Routine

Episode 208: Federal Reserve

Episode 207: Forex Day Trading

Episode 206: And the Winner is...

Episode 205: Rendezvous in the City of Angels

Episode 204: Think and Grow Rich
Episode 203: Undiscovered Riches

Episode 202: Dow 20k Ft. Trace Fasano

Episode 201: Why now? Why not?

Episode 200: The 200th Episode

Episode 199: From the Top of a Mountain
Episode 198: 2017 Predictions
Episode 197: Best of 2016 (Part 2)
Episode 196: The Best of 2016 (part 1)
Episode 195: A Year in Review
Episode 194: Interview with Jeff Crystal The Fed
Episode 194.5: Being Normal Sucks
Episode 192: Book Club, Trading in the Zone, Josh Cole
Episode 193: Interview with John Reilly
Episode 191: Economic Theory with Robert Shannon
Episode 190: An Interview with Tyler Craig
Episode 188: The Final Countdown
Episode 189: Middle America Speaks
Episode 187: Catching a Falling Knife
Episode 186: Book Club, Andy Tanner and 401Kaos
Episode 185: Mergers and Wikileaks
Episode 184: Bear Market
Episode 183: Systemic Risk and Elections
Episode 182: Presidential Podcast
Episode 180: The Economy With Steve Rand
Episode 178: Mentoring Process
Episode 177: Steve Andrus
Episode 175: Planning Your Trades
Episode 174: Breaking Trading Myths
Episode 173:Jeremy Reece and Building Credit
Episode 172: Pete Thomas and Personal Gold Standard
Episode 171: Naked Strangle
Episode 169: Radical Division
Episode 168: Micah Brooks and Education
Episode 166: Trading Plans
Episode- Trading Justice Book Club Preview for July 13: The Death of Money
Episode 163: The VIX
Episode 162: Owen Malcolm and Determination
Episode 161: Book Club, Trade Your Way To Financial Freedom
Episode 159: Trading With Brad May
Episode 89: Current Recession Indicators in the Economy
Episode 88: The Importance of Economic Reports in Shaping the Market
Episode 87: Steve Huang Trading Plan and Developing a System

Episode 153: Protective Options